Anime Intro Part 2 Title Image blue

Our Anime Opening – Part 2: Production

Welcome back to the second part of my anime opening blog post! Today we'll follow the creation of the visuals and find out how we implemented our anime opening in the end.

But there is something important missing! Where is the wonderful catchy music? What is the story behind it? Don't worry, there will be a separate blog post dealing exclusively with the creation of our soundtrack, because there's a lot to tell about it.

But now back to the visuals!

So we finished the pre-production and were ready to start the production.

We wanted to apply Japanese production methods, as they are used for most anime productions, to our four-man team as good as possible. So in the end the following steps resulted:

Layout
Layout
LO
LO
Tiedown
Tie Down
Clean-Up
Clean Up
Coloring
Coloring
Background
Background
Compositing
Compositing
 

In order to keep an overview of all these work steps, we created a checklist for the project on a large board. This is what it looked like at the end of the production.

Final Scene

Since in Japan animation is often still done with pencil and paper, a large part of their production pipeline works the same way. With the exception of coloring and compositing, every step of the process is done by hand. No matter if you use brush and paper or graphics tablet and Photoshop, the process remains the same. We decided on the digital version because these tools are more familiar to us.

Clip Studio Paint EX was used as animation software. It is similar to Photoshop, but has a timeline that is specially adapted to traditional animation. But a free open source software like Krita serves the same purpose.

Layout

The first step in creating any scene is the layout. It's like a blueprint of the cut, often with drawn wireframe lines to make the perspective clearer. A layout serves as a perspective framework for the animation and also as a template for the background painting. This makes it possible to work on both processes simultaneously. Without a layout, the animator would always have to wait for the finished background to allow the characters to interact with it.

In this step, the incidence of light is already specified so that the lighting of the animation is in harmony with that of the background. Here in the example, blue lines mark the shadows in the layout.

Layout

Traditional Animation

Before I dive into the details of the pipeline, I would like to explain the animation technique we used. It's traditional animation, or hand-drawn animation as you know it from old Disney movies. The single frames are drawn by hand. By playing these frames back rapidly (24 frames per second) the illusion of movement is created.

Since 24 frames per second is an enormous amount of drawings, it is a common method to draw only every second, third or fourth frame (twos, threes, fours), which greatly reduces the number of drawings. These different distances between the pictures can create an aesthetic of its own, which is a fundamental stylistic device of anime. The tutorial on Frame-by-Frame Aesthetics in After Effects explains this concept in more detail and in an easy-to-understand manner.

Now that we are all frame rate professionals, we can get into opening animation!

LO

The animation layout (LO), not to be confused with the layout explained above, is the basic framework of the animation. The movements of the scene are shown with rough drawings. Smaller details are ignored for now, so that the large gestures could be drawn without distractions. This is where the 12 Principles of Animation come into play. Finally, the timing is determined and if needed, the placement of inbetweens (transition images to make the movement more fluid) gets noted. And with that the LO is complete.

LO

Tie Down

Here, the details that were ignored in the LO are inserted. This includes, for example, clothing, hair, facial features, individual fingers, effects and everything else that must be present in the finished animation. Here the 12 Principles of Animation have to be considered again, because the details should also be animated in an appealing way. If they were noted in the LO, inbetweens would also get drawn in this step. After this process we are much closer to the final product - but the most timeconsuming step is still to come.

Tiedown

Clean Up

During the LO and tie-down, the focus lies entirely on the flow of the movements, which is why the finesse of the lines is often neglected. That's why every picture is redrawn with clean lines on a new layer or a new piece of paper. This is a big but necessary time effort, because clean lines not only look more attractive, but also make the coloring process much easier.

Additionally, blue lines are drawn in the Clean Up that represent the terminator. And no, I'm not talking about Arnold Schwarzenegger here, but about the border between light and shadow. Using the light specifications of the layout, the terminator is drawn in for each image. A good understanding of perspective, form and light is of advantage here. Thus the animation process is complete!

Clean-Up

Now, if anyone is interested in picking up hand-drawn animation and would like to learn more about it: Happy Harry’s Tutorial Series is highly recommended!

Coloring

Now that all the lines are nice and clean, the areas can be filled in with just a mouse click, in the best case scenario at least. Sometimes gaps between the lines have to be closed by hand. This can be done in Photoshop or with similar programs. Before the digital age, clean up was drawn on transparent celluloid foils, which were then painted on the back. These could then be placed on the background painting and were scanned in.

Coloring

Background

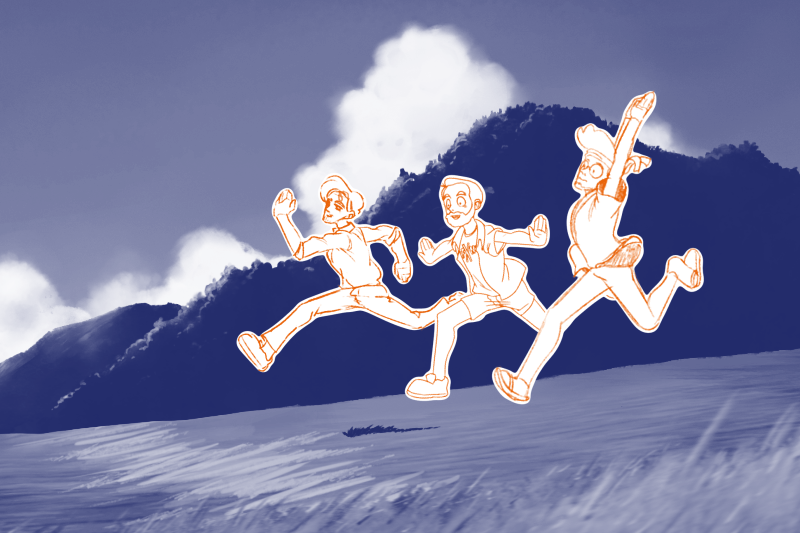
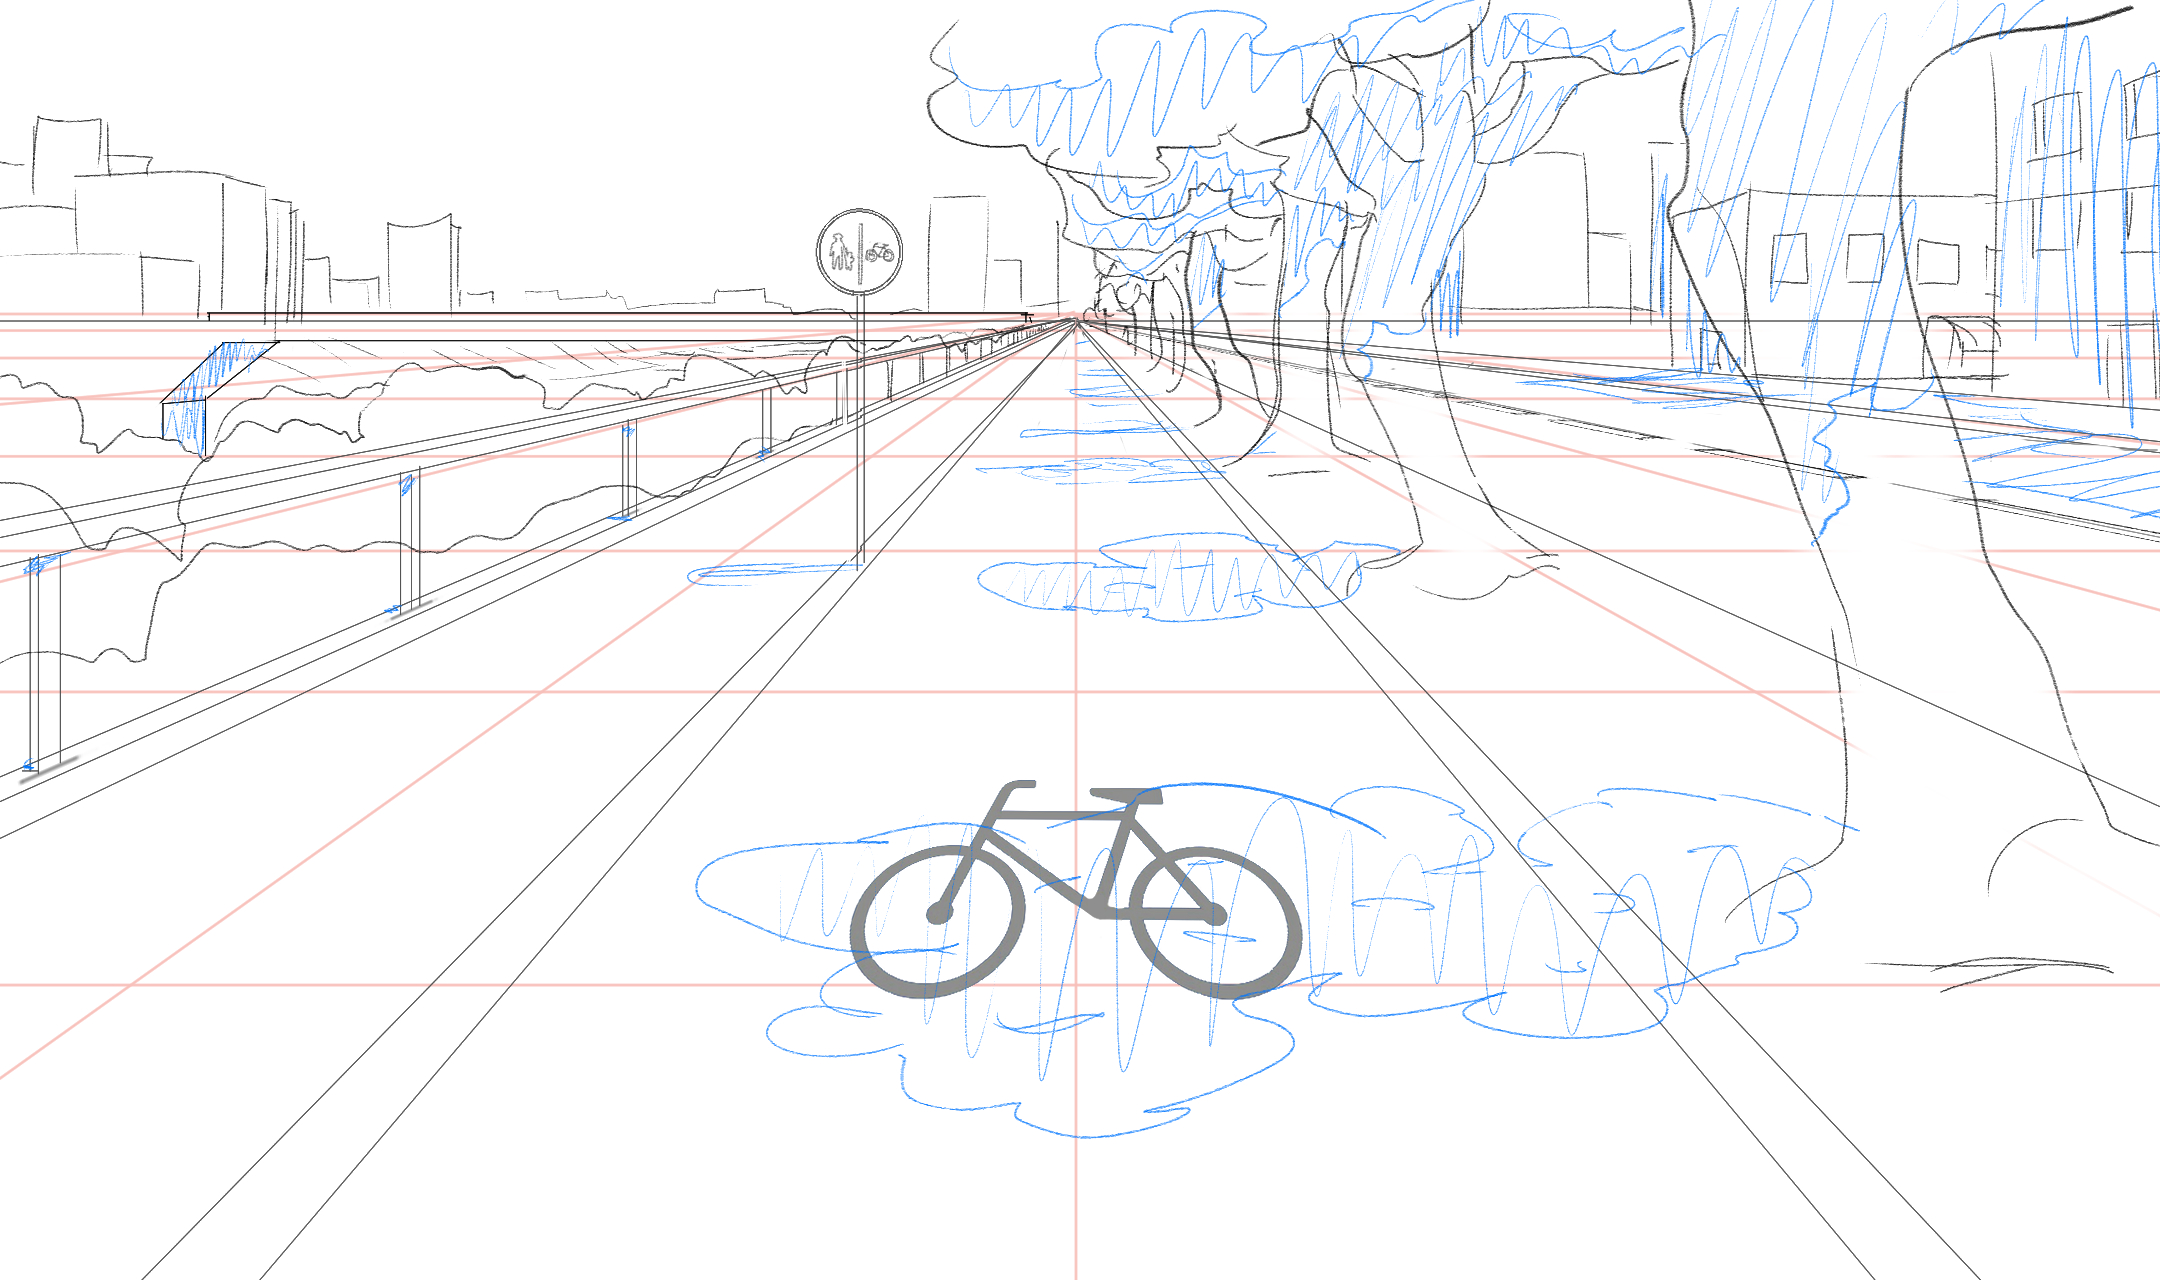
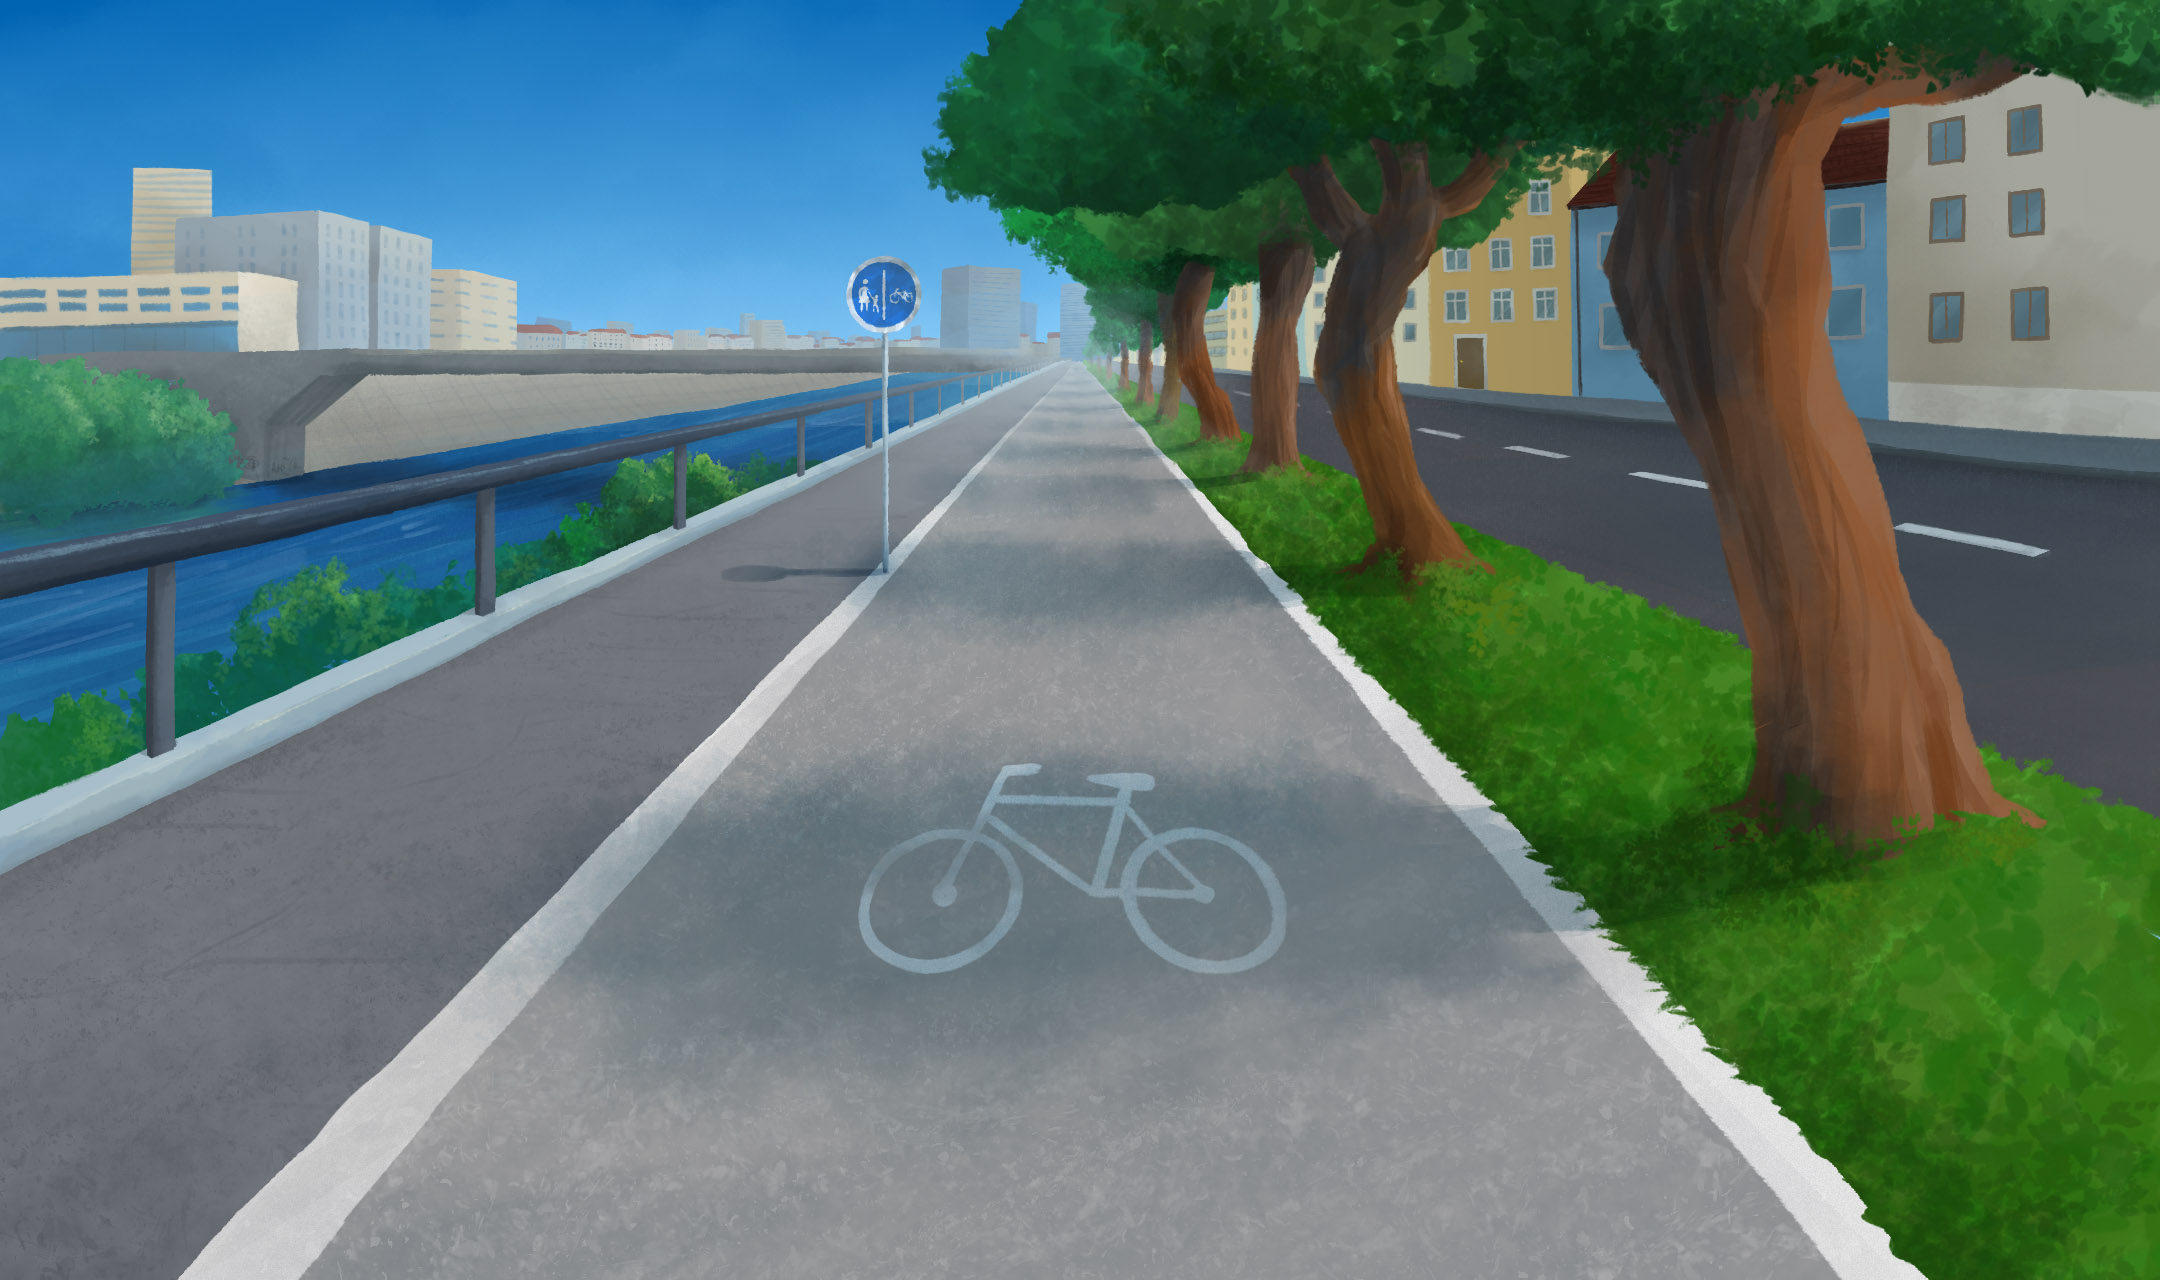
The background painting contains not only the background, but also foreground elements, if needed, and uses the layout as a basic framework. Other static elements that will be required in compositing are also implemented in this step. For the painting itself, a good eye for color, texture and lighting mood is required, for which Michi was the right choice. The color mood of the whole scene is defined in this step, because the colors of the characters are only adjusted to the background afterwards.

The style of the backgrounds as well as the style of the characters extends through the whole opening to create a harmonious overall picture. Certain recurring colors (sky, grass, ...) or elements (clouds, tufts of grass, ...) support this. Inspiration for the backgrounds came from Studio Ghibli's films like "My Neighbor Totoro" or "Howl's Moving Castle".

In Japanese productions, the backgrounds are sometimes still painted analog with poster colors, but this process is increasingly being digitalized. With the background, all individual parts of the scene are complete.

Background

Compositing

Now all elements have to be put together and finalized. To avoid the animation process going completely off schedule, some animations were not created by hand but directly in After Effects. Here, Ben was able to use zooms, depth of field, camera movements, lighting and other effects in compositing to help turn still images into dynamic animations - a staple of every good anime.

Compositing

Now the only things still missing is some music and subtitles, one last color correction and the anime opening is ready!

That's about it with the implementation of the anime opening. I hope you had fun reading it and look forward to the next blog entry, where we finally learn something about how the music was created!


(Martin Wunderl)